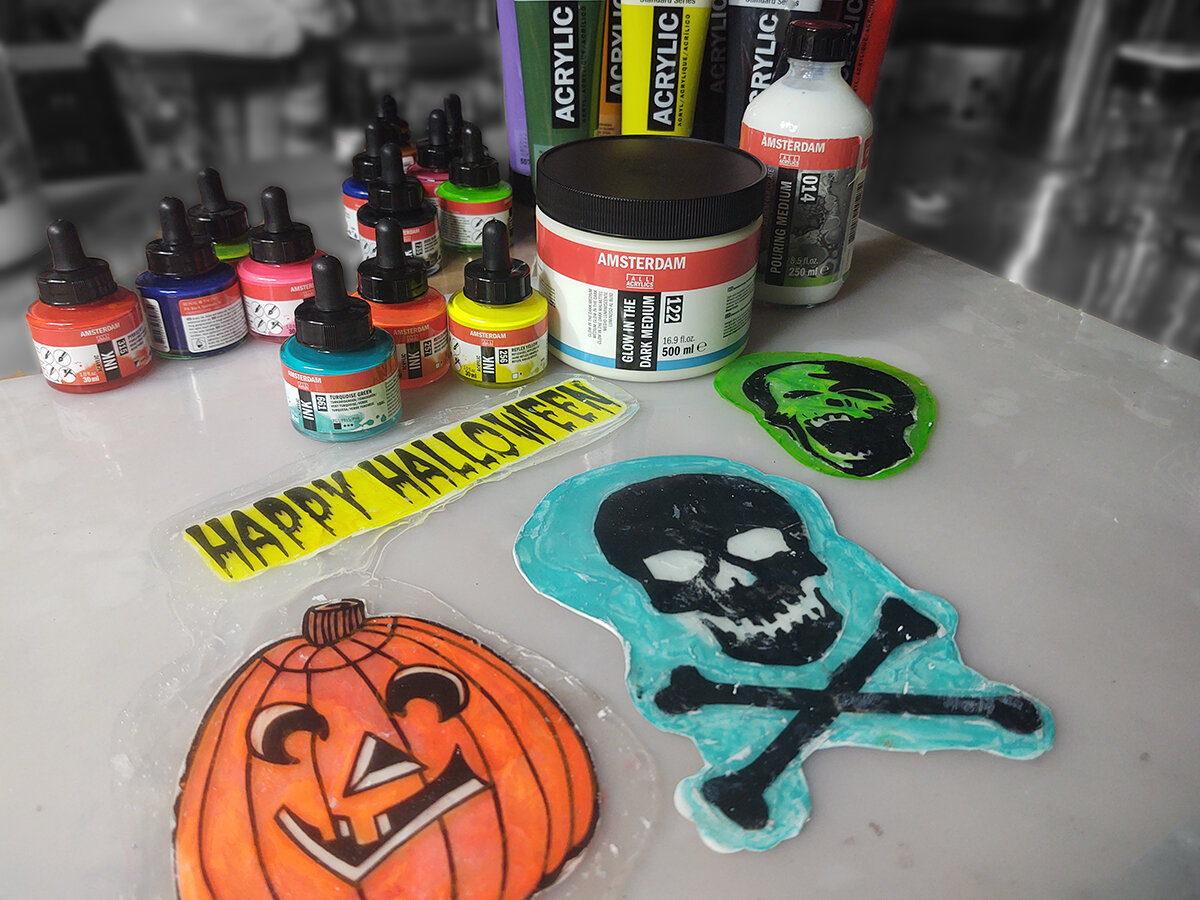
Glow in the Dark Halloween Amsterdam Acrylic Skins
Project by Art Educator Celia Buchanan

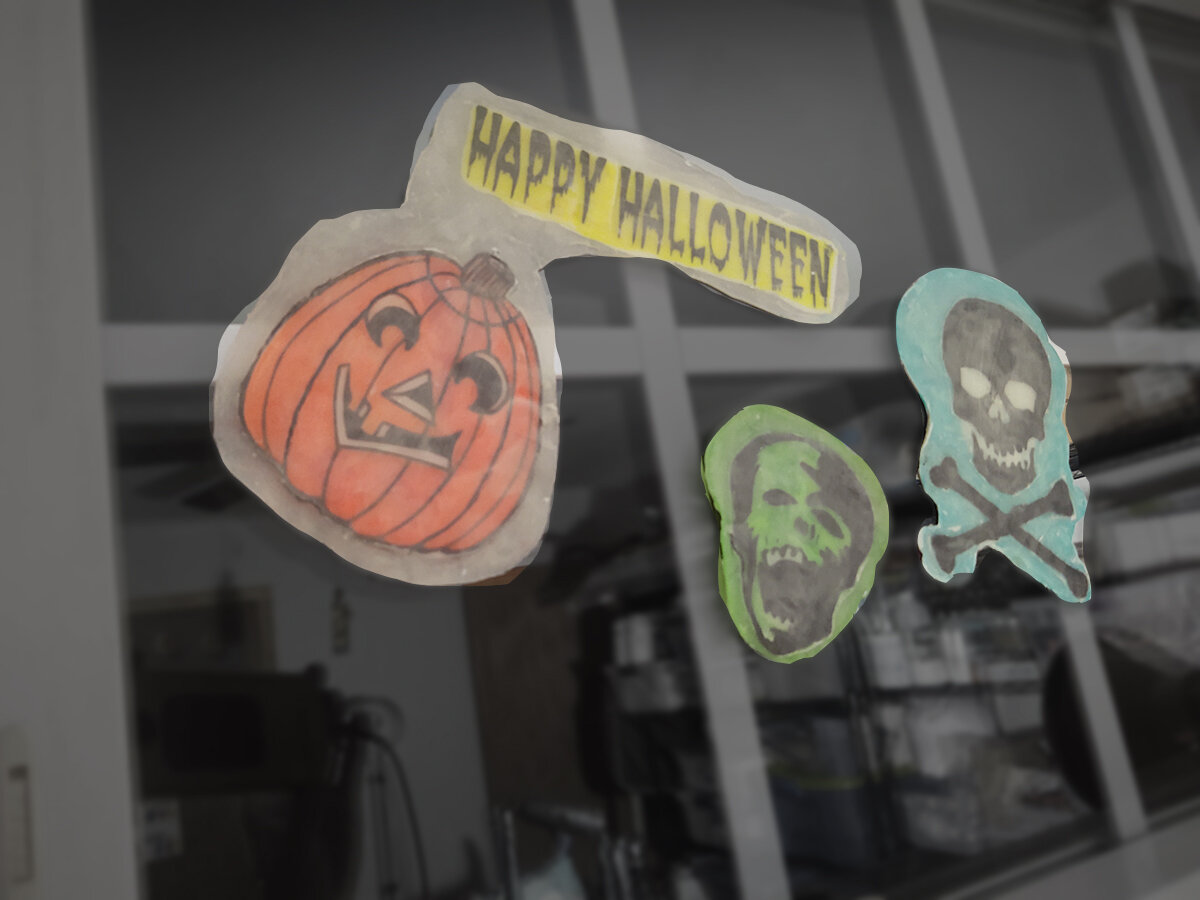
Glow in the dark skins work great as window clings that will glow in the dark at night! Here’s how to create them in 5 easy steps!
Materials List
Amsterdam Pouring Medium or Acrylic Medium Gloss
Amsterdam Ink colors used: Reflex Yellow, Orange, and Green. Pyrrole Red, Turquoise Green and Olive-Green Light.
Amsterdam Glow in the Dark Medium
Directions
1. Using laser prints only, reproduce your image onto a lightweight paper. Note: if you want to use text make sure to reverse the letters before printing them. Cut as much of the paper away from the design as possible leaving only the image.

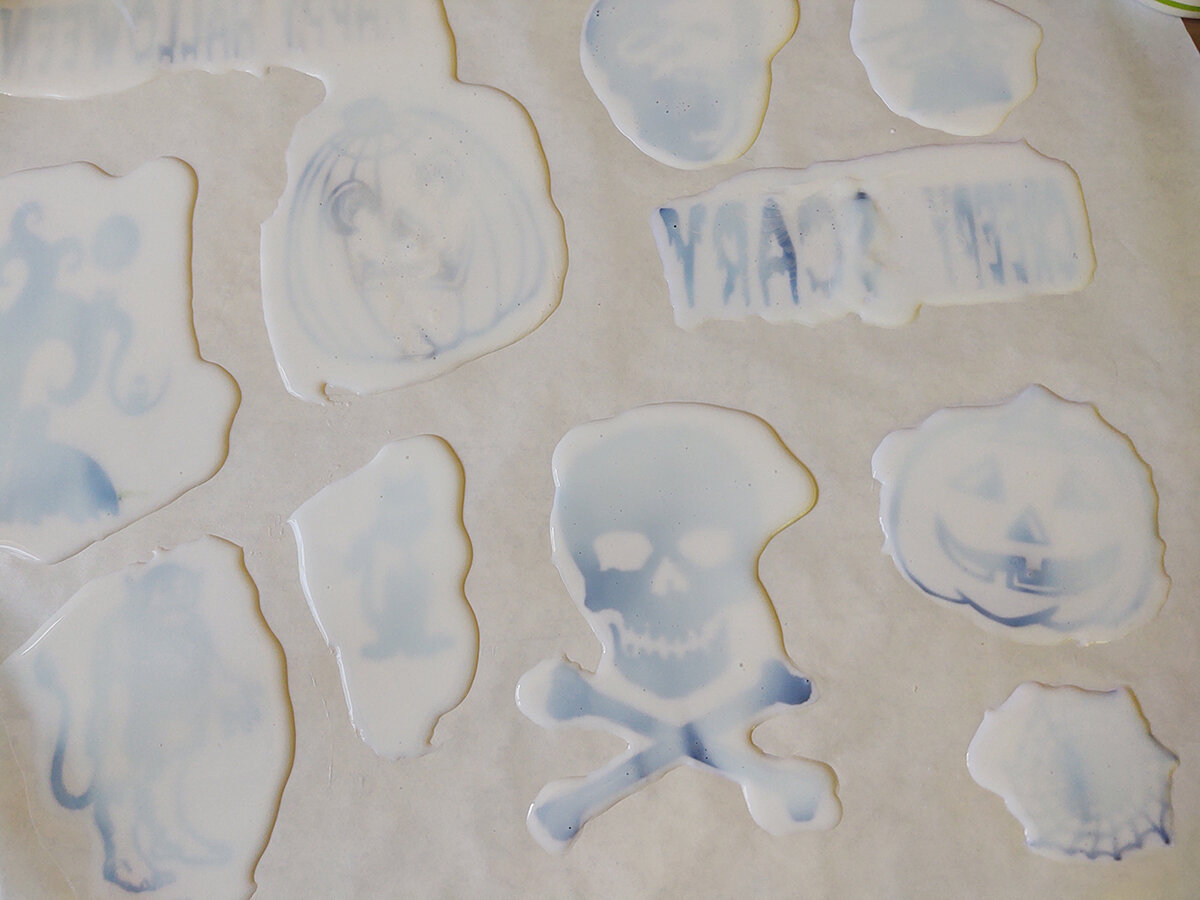
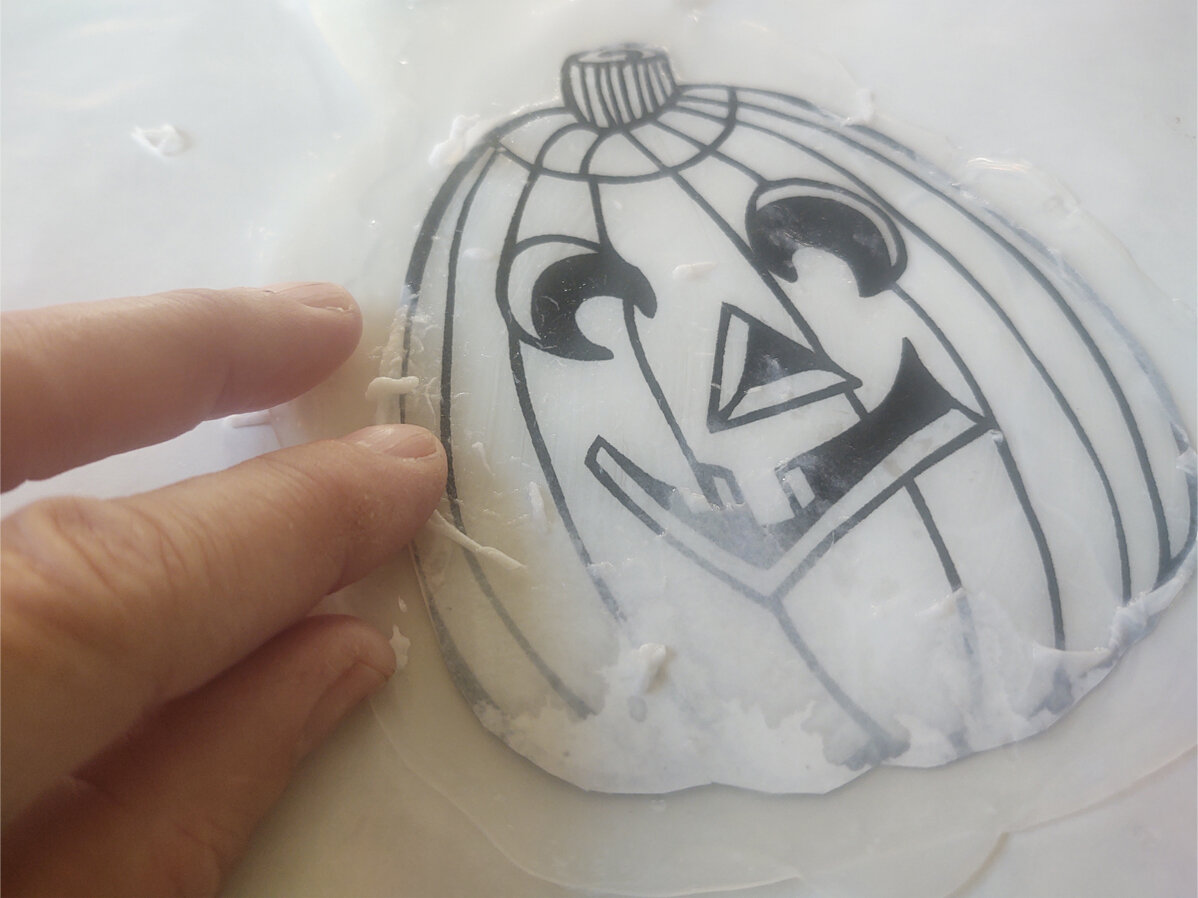
2. Lay the prints image side up onto a nonstick surface, such as parchment paper or silicone sheet. Either pour or paint several layers of Amsterdam Pouring Medium or Acrylic Medium Gloss onto the print. Be careful not to get any acrylic medium onto the reverse side of the paper as this will complicate the next step.

3. Leave the acrylic to dry completely. This will take up to 24 hrs. especially if poured. Once it’s dry it will be clear. Soak the print in water and rub the paper carefully off the reverse side of the Acrylic skin. The skin may go cloudy initially but will clear out again when dry.
4. Using Amsterdam Acrylic Inks add color to your image. For this design Amsterdam Ink reflex colors were used.

5. Finally add at least one coat of Amsterdam Glow in the Dark Medium to the image side of the skin.

Share your Halloween skins with us on social media! Tag us @royaltalensna